Integrating into the network
Integrating the Datafox time recording device into the network
- Office terminals
- Industrial terminals
Press and hold the logo (5 seconds) to enter the device setup.
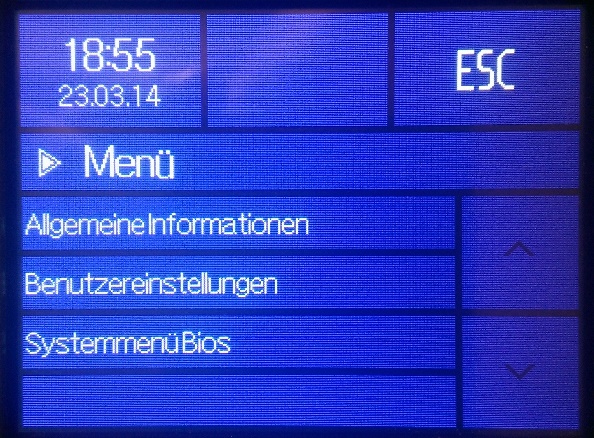
The BIOS password is required to open the BIOS system menu. The 4-digit password must be entered and confirmed with Return.
The BIOS password is sent with the device.
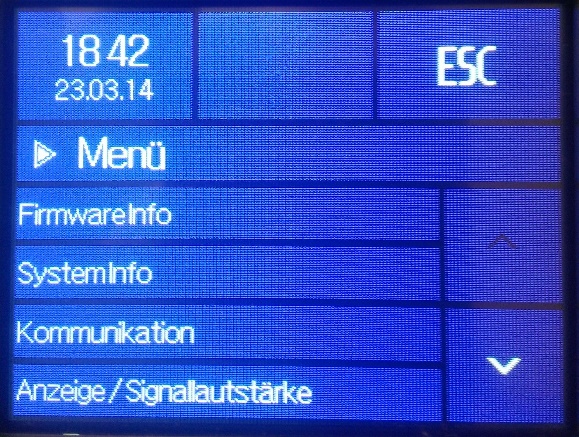
After the BIOS system menu has opened, switch to communication and interrupt communication.
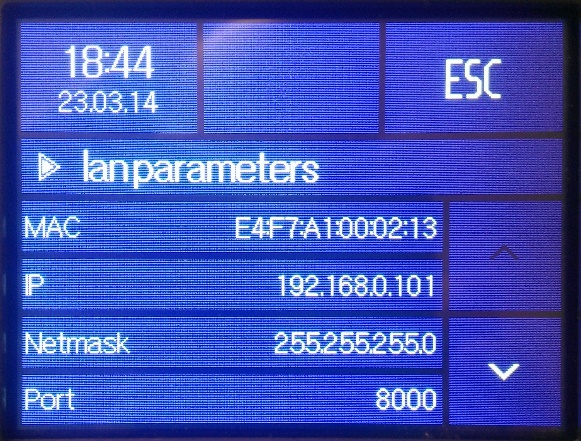
Now first select the LAN or WLAN interface and then switch to “lan parameters”.
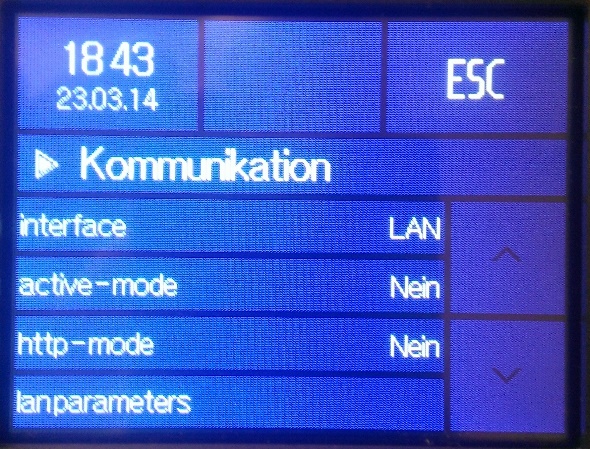
At this point, the IP address of the DataFox device is set. If the address is to be obtained dynamically via a DHCP server, “0.0.0.0” must be set as the IP address. The specific IP address assigned by the server can then be determined at the DHCP server.
Then close all dialogues with ESC and restart the PZE EVO.
Pressing the up and down arrows at the same time takes you to the device setup.

The BIOS password is required to open the BIOS system menu. The down and up arrow keys are used to determine the number. Advance to the next digit using the Go symbol. Move back using the Come symbol of the time recording device.
The BIOS password is sent with the device when it is delivered.
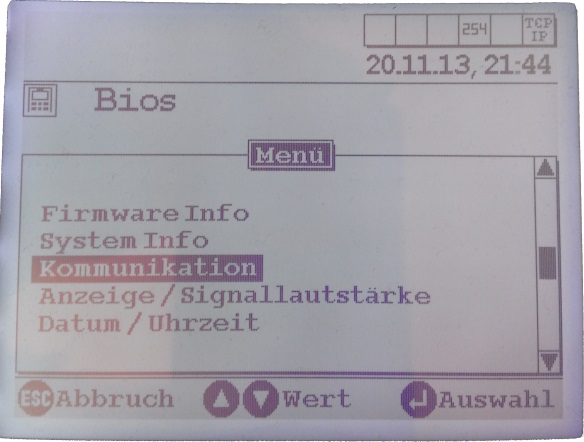
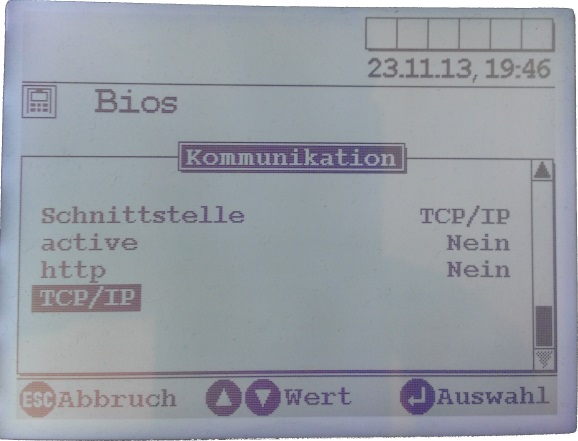
After the Bios system menu has opened, switch to communication and then interrupt communication.
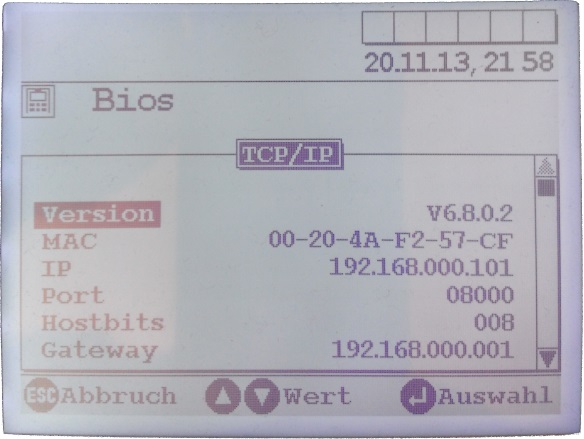
Now select the TCP/IP interface and then switch to the "TCP/IP" menu item.
Then close all dialogs with ESC and restart the PZE Master.
At this point, the IP address of the DataFox device is set. If the address is to be obtained dynamically via a DHCP server, “0.0.0.0” must be set as the IP address. The specific IP address assigned by the server can then be determined at the DHCP server.
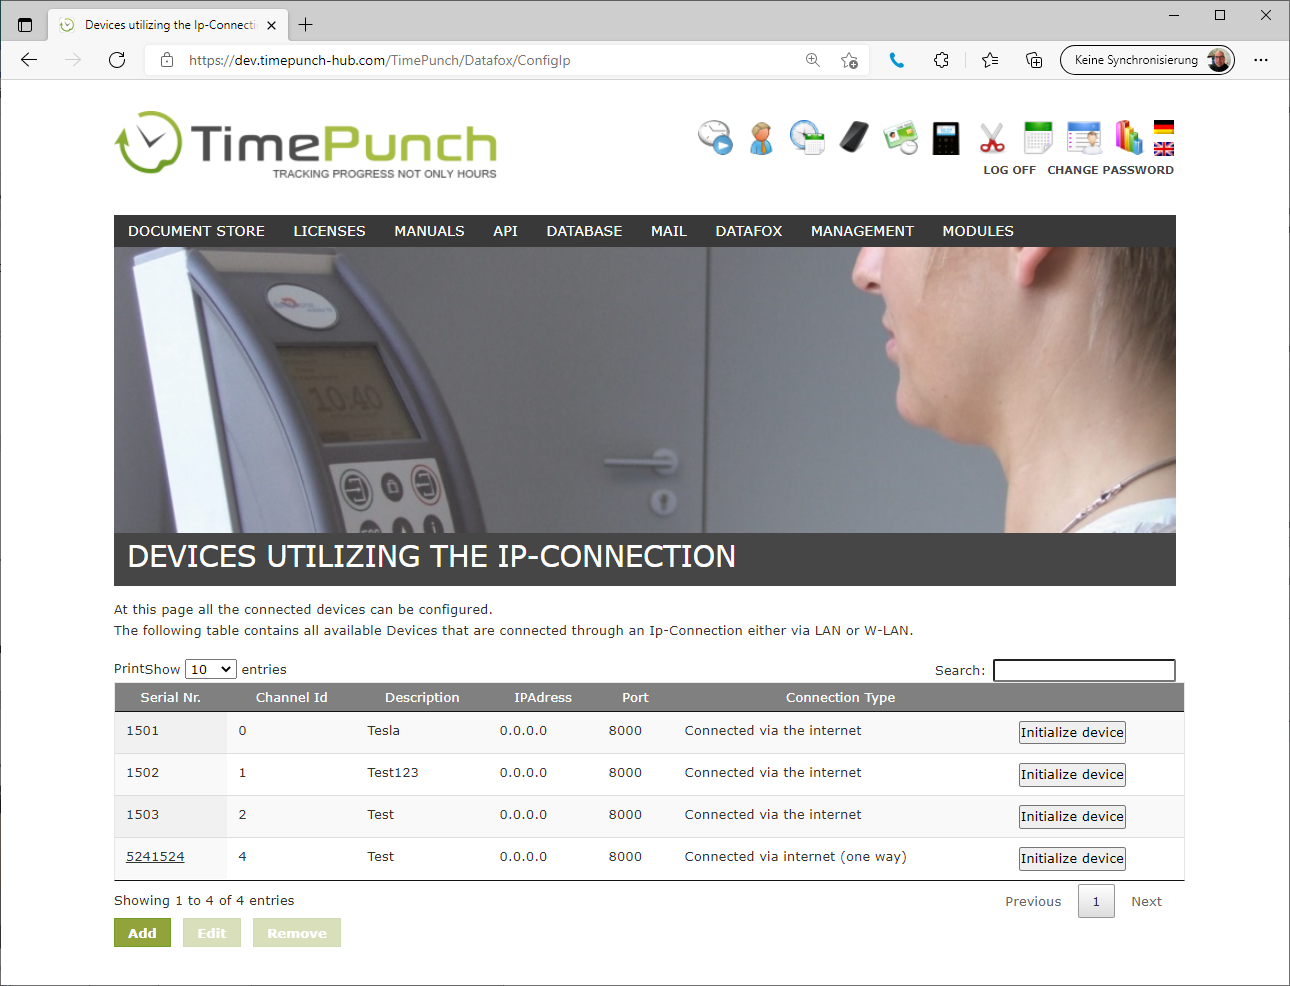
Alternative configuration via the web interface
The time recording devices can not only be created in the Windows client, but also directly in the web interface. This is done via the menu item "Datafox / Configuration" in the application server.